
GBD Works: Photoshop’s Layers and Masks

QUINNIPIAC UNIVERSITY ANNUAL REPORT: USING LAYERS AND MASKS IN PHOTOSHOP
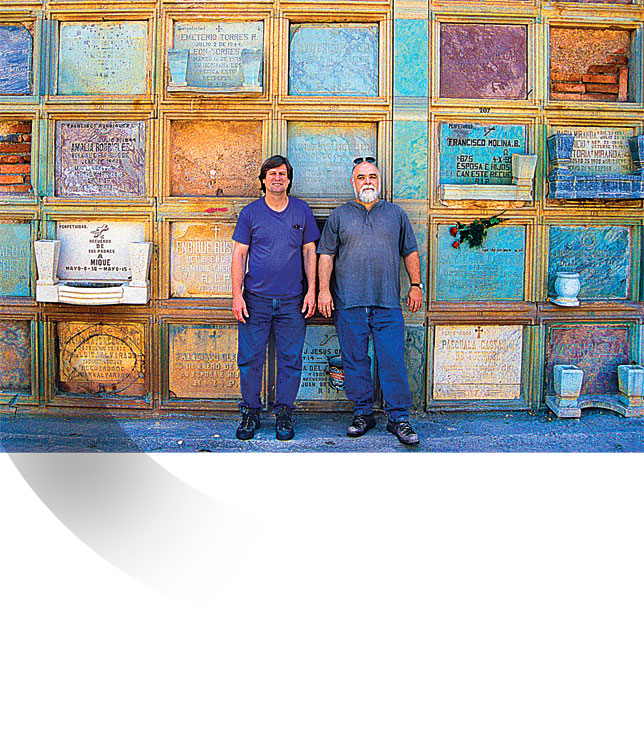
Above: After creating an elaborate series of layers and masks, I placed the main image and added the gradation in the lower left using one of my masks.
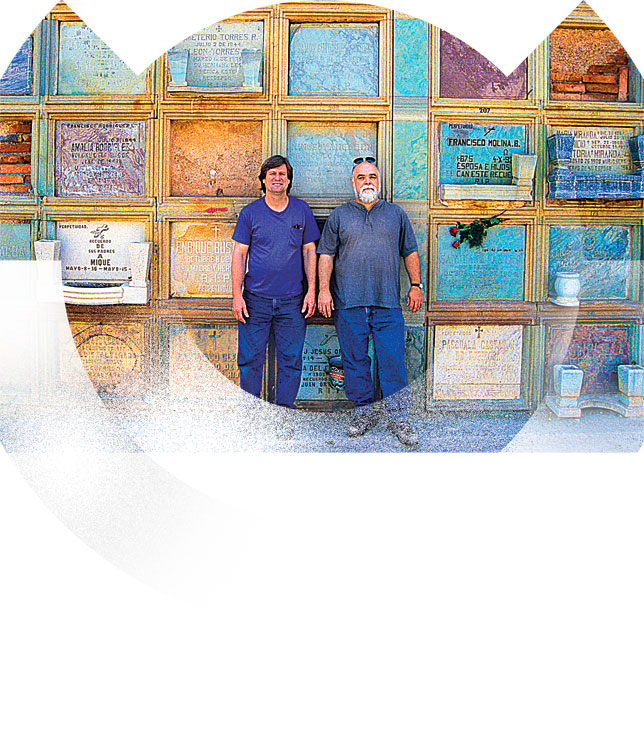
Above:Using my layers and masks, I added shapes with various degrees of gradients and solid areas.
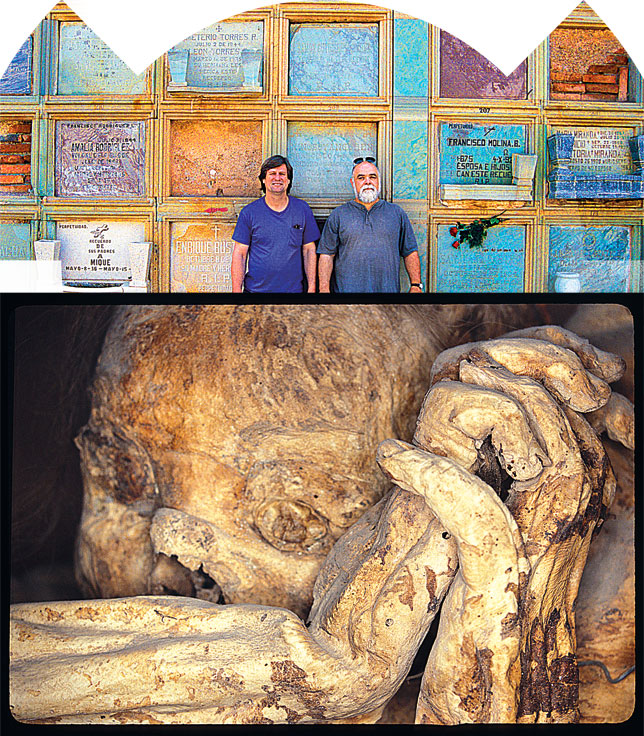
Above: I placed the mummy image approximately where I wanted it.
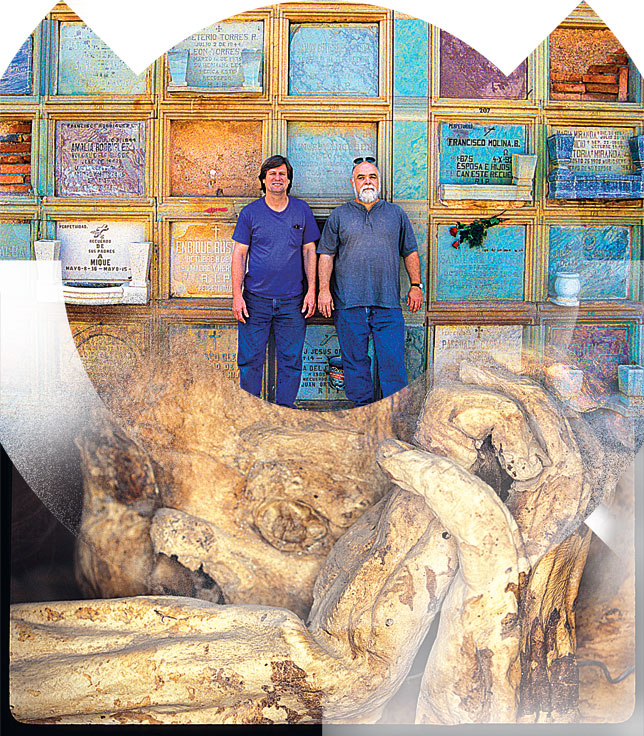
Above: Using my masks and layers, I began added gradients and shapes to the mummy image.
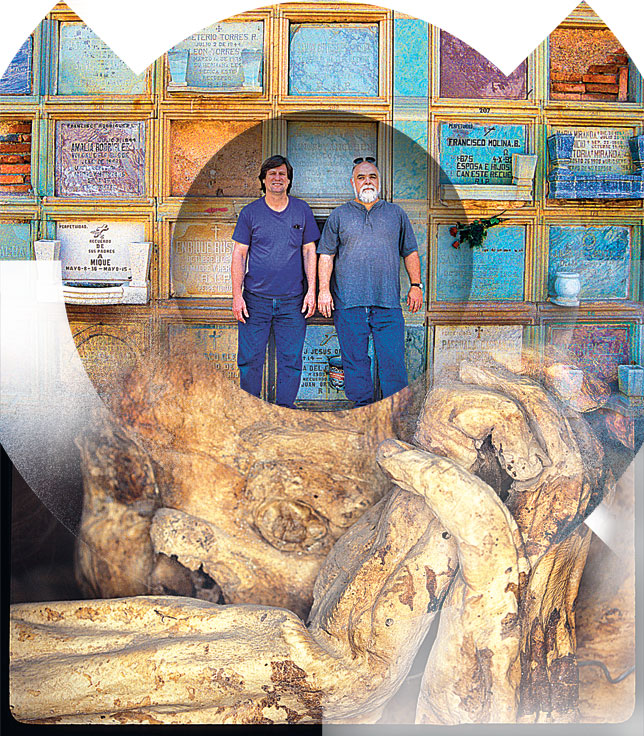
Above: I added more gradients and shapes to different layers.
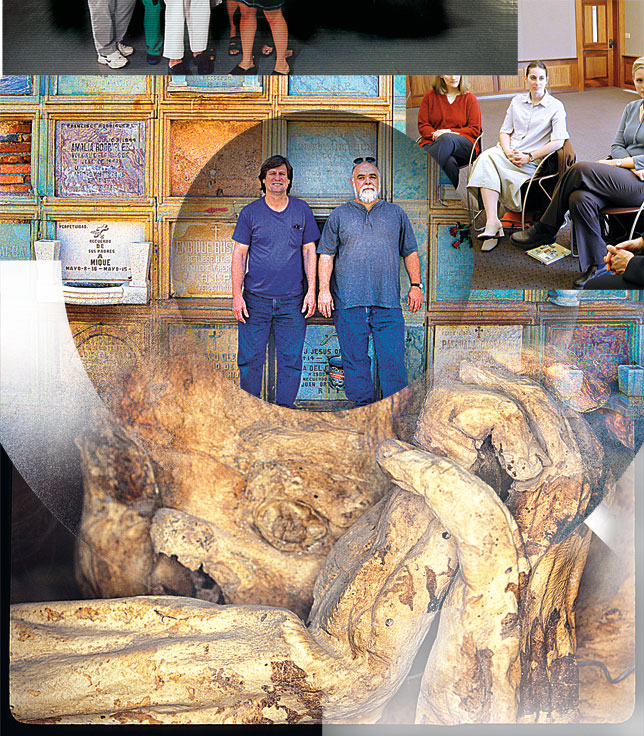
Above: I added the two top images.
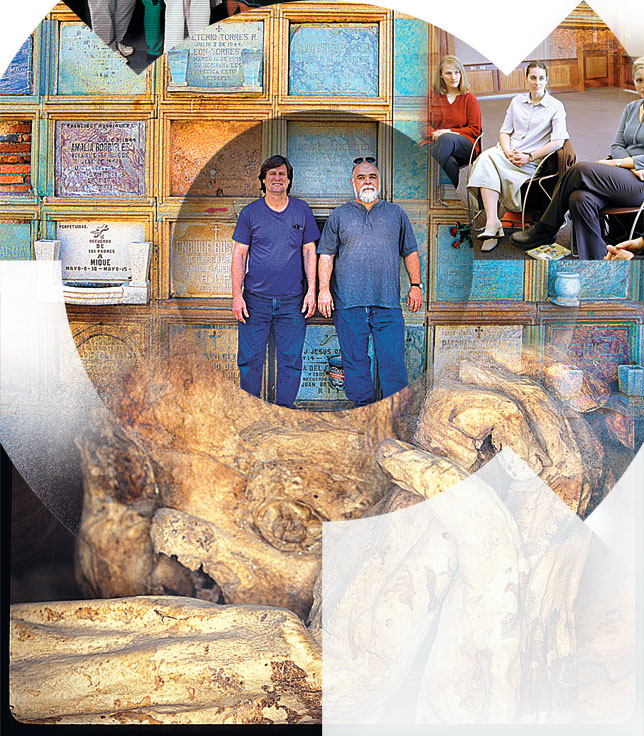
Above: I added more layers and masks to the various images.
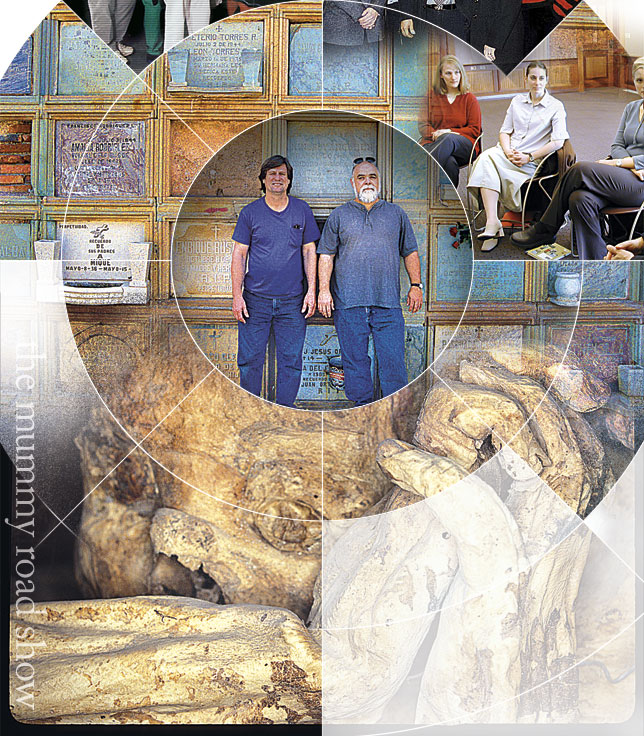
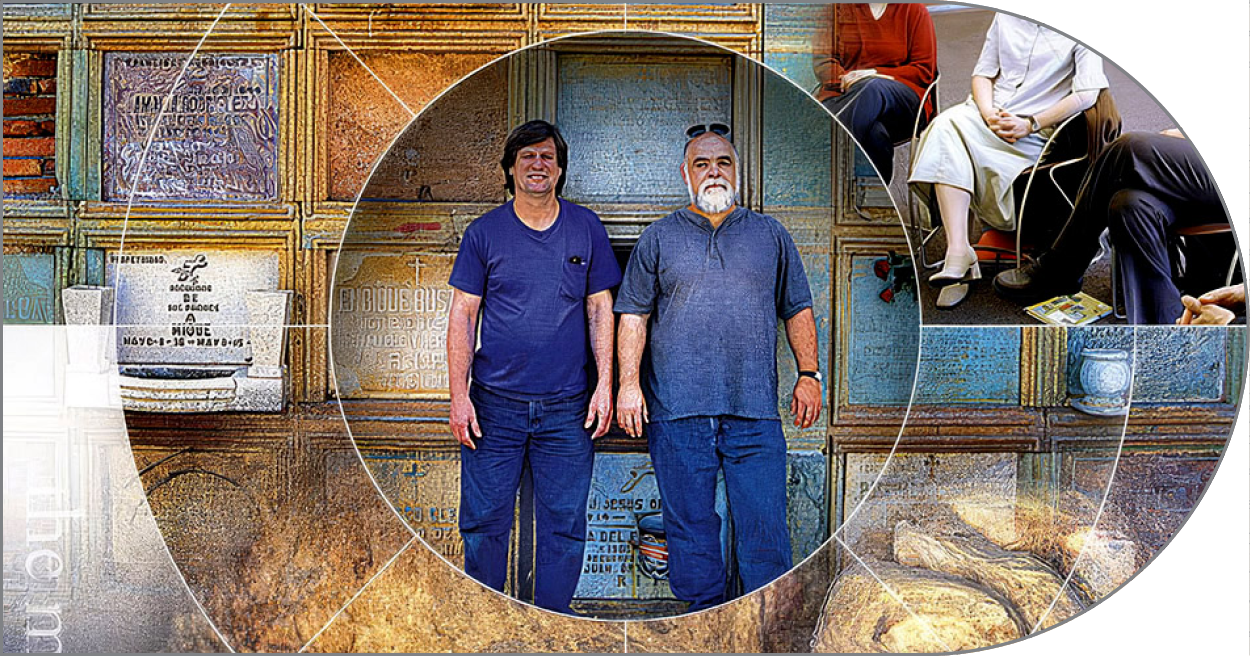
Above: I added the white lines each of which is on its own layer. I then added the text in the lower left and adjusted the transparency on the images.
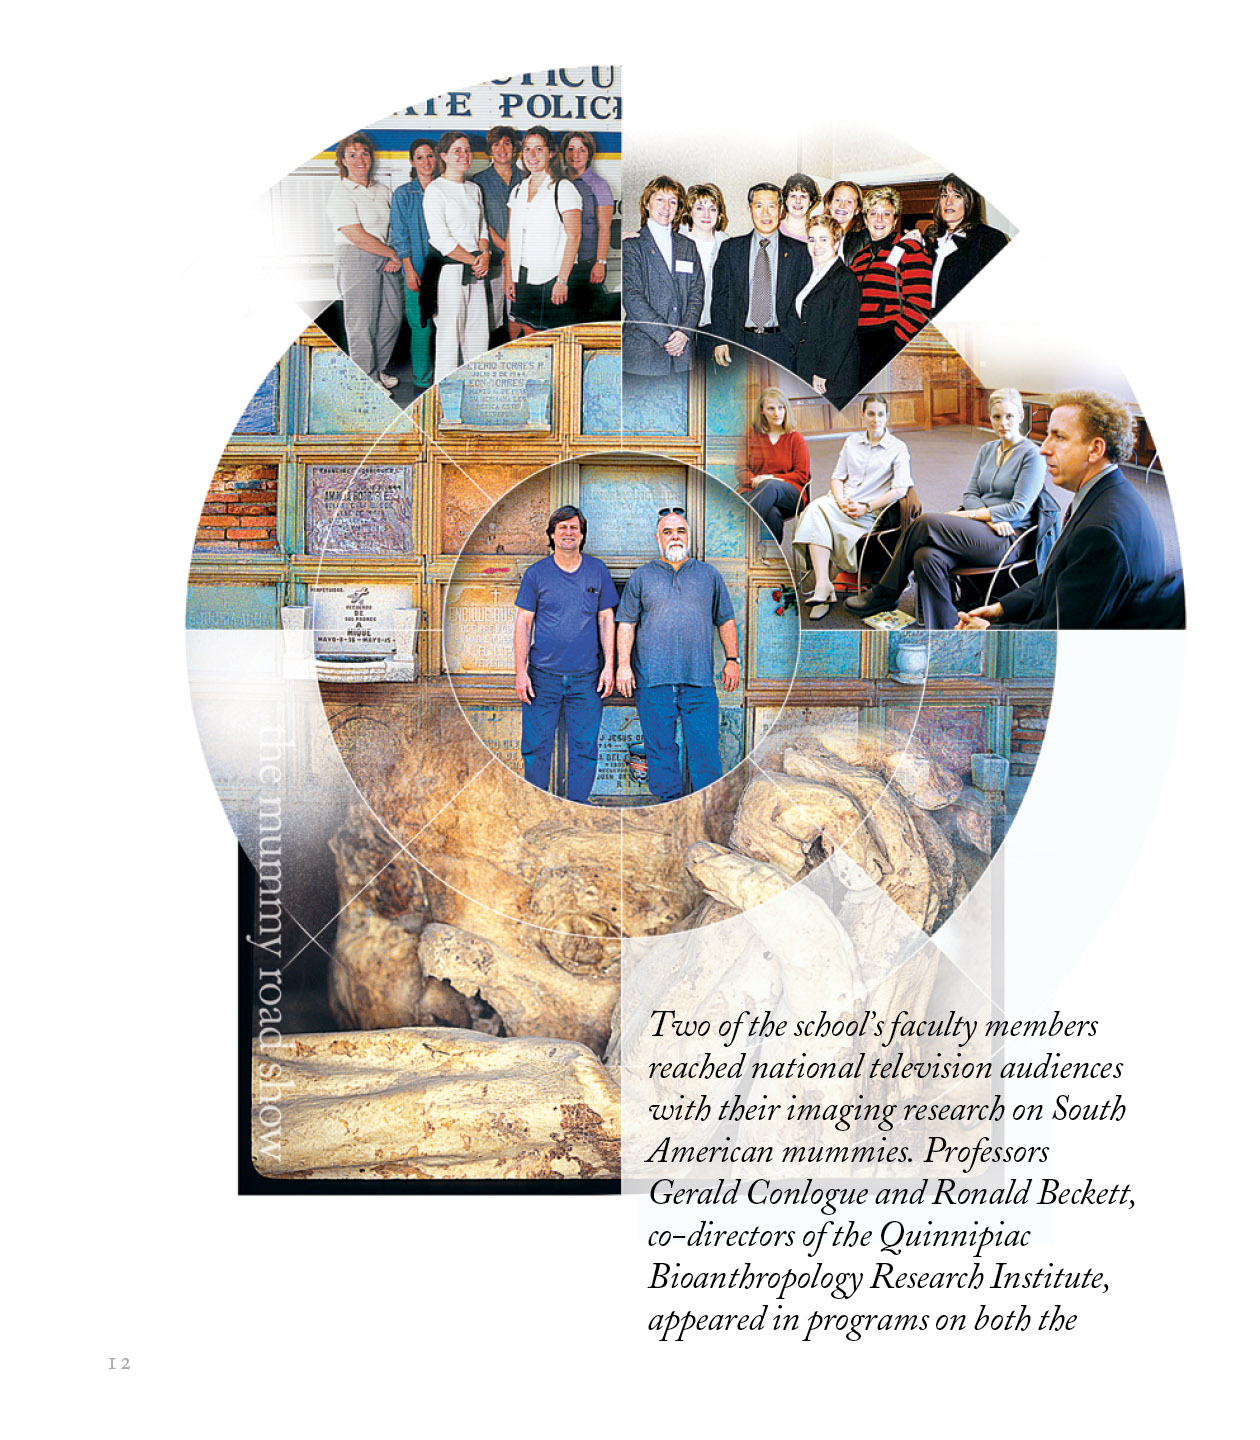
Above: The final Photoshop montage placed in InDesign. I added the text.
See More of GBD Works
touch plate on uncoated stock 1/3

wayfinding 3/3
back to health integrative health
wayfinding 1/3
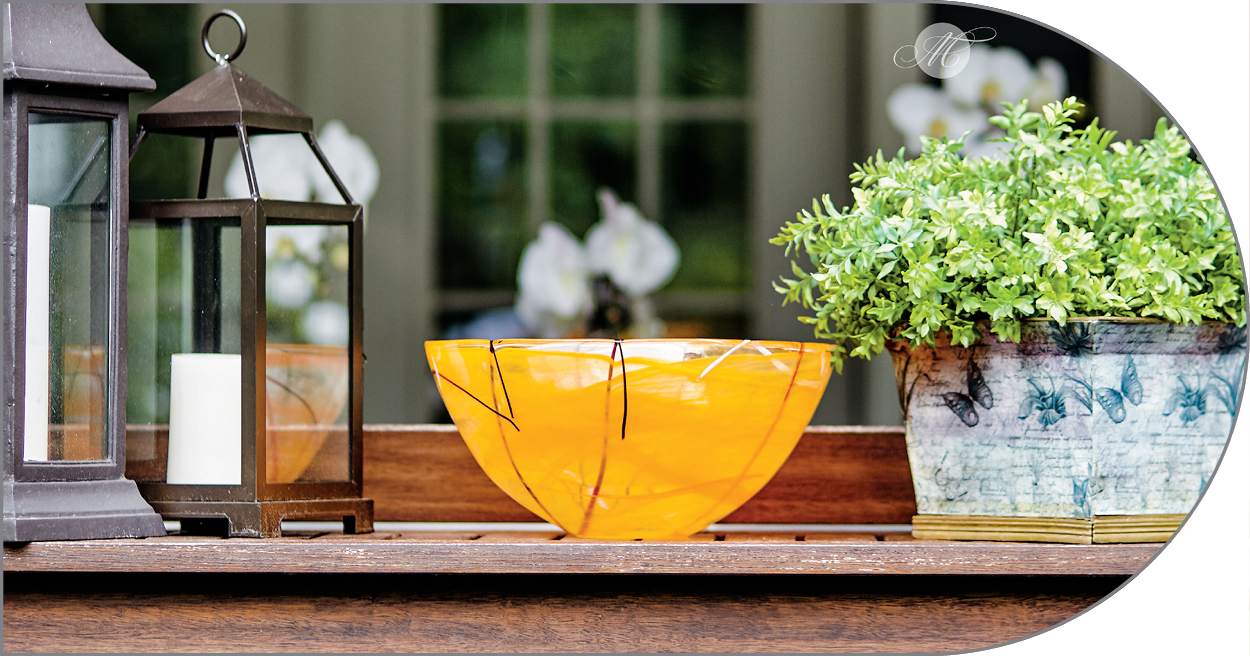
touch plate on uncoated stock 2/3
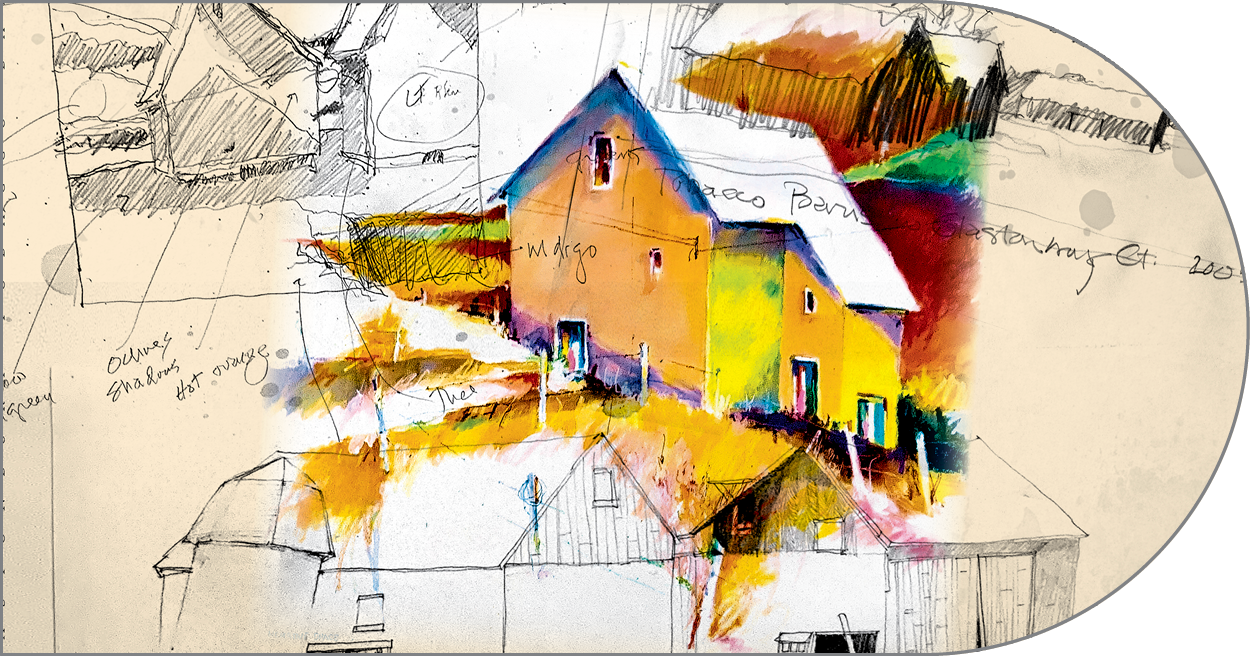
theo bertz sketches book 1/3
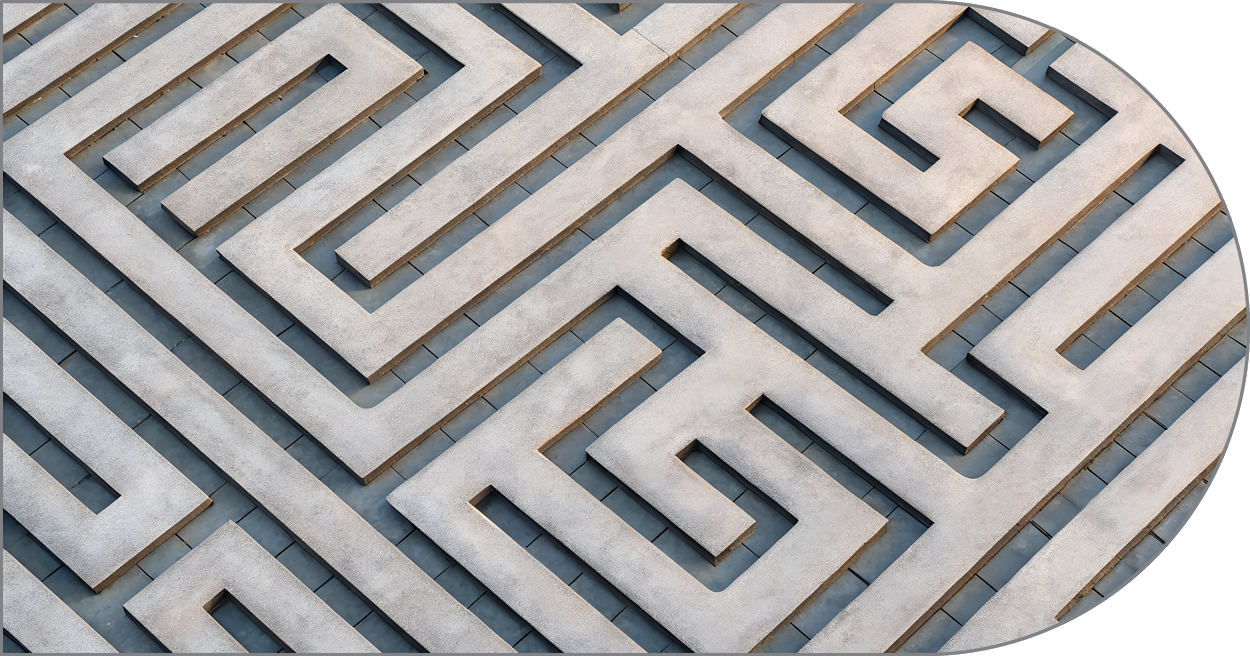
wayfinding 2/3
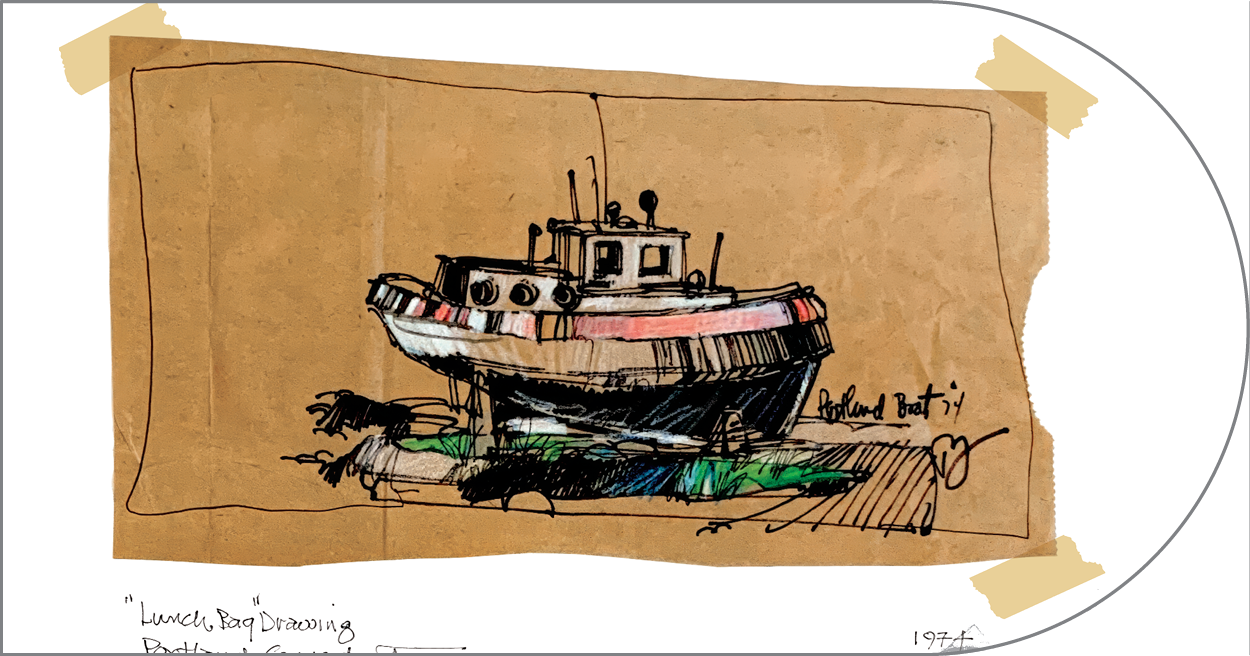
theo bertz sketches book 2/3
photoshop’s layers and masks
restifo plastic surgery folder
theo bertz sketches book 3/3
touch plate on uncoated stock 3/3
